

Birthday Special: How I made my Portfolio website without coding

Hello Guys! Welcome to a brand new post of Sai Ansul's Blog.
Today is my birthday, I actually wanted a personal portfolio website since a long time. So I thought I should gift one for myself. So I made my own portfolio and pre-gifted to myself. I launched my website on 23rd May at 5:00 p.m. IST. And I thought I should also share this with you guys. I'll also tell you How I made my website without a single line of code.
 Skills: No skills required
Time: Less than 30 mins.
Platform: Google Sites
Cloud Storage: Google Drive
Requirement: A G-mail account
So let's Start,
Firstly open Google Sites
Then you will see a interface with various types of templates for your website, select portfolio.
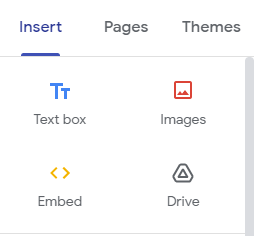
Then you'll see a interface such like this
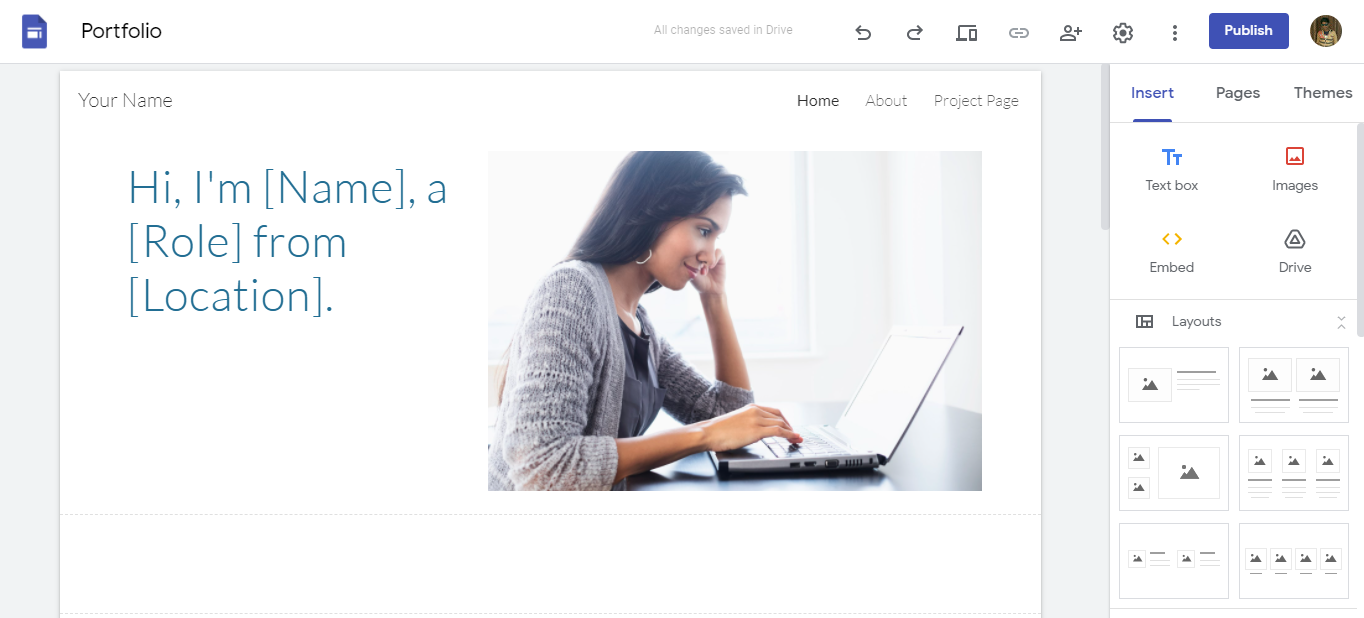
Then you need to replace the text and image according to your needs, and since I didn't like the plain background so I downloaded a image and using it as the image. I wanted my home page to be simple so I removed all the other elements present there.
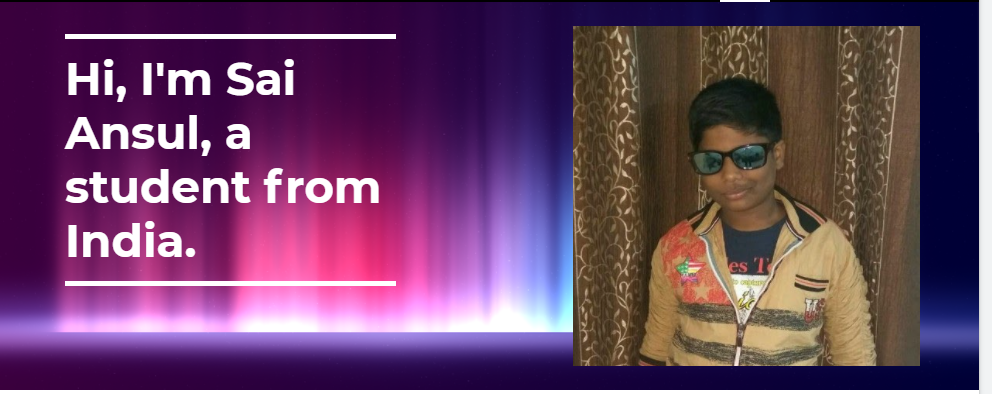
I replaced the text and image and now I went ahead to my about me page. You can manage the pages and it details according to your requirements.

So what I basically did here is I made an innovative design using Canva . You can join using my link from here
So I replaced that with the image over here.
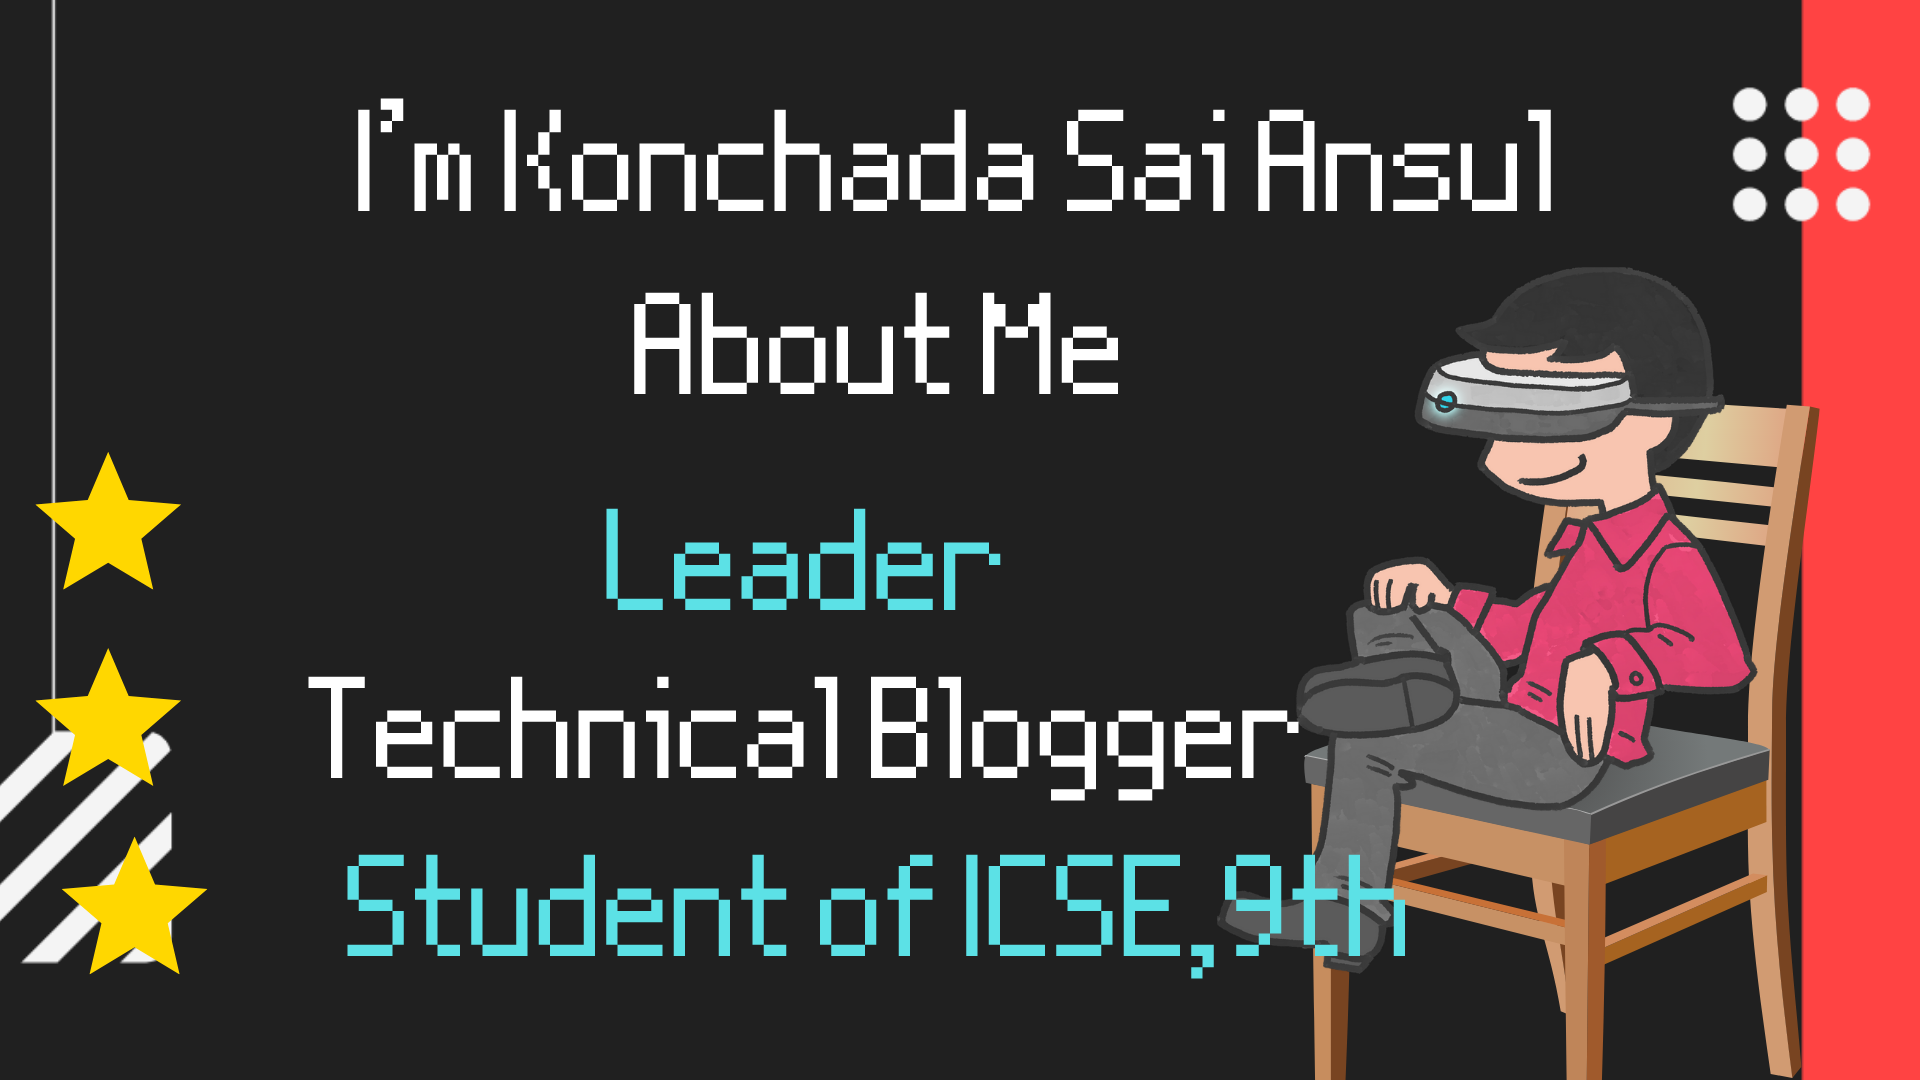
Then I had some lines about myself that I have written there and changed the background image.
And that was it About Me page created!
Now I made a page for My Blogs. Where I just simply embed my blogs from my blog page where I also enabled some description about my each blog, you can disable that according your requirement.
 So i did the same for all my blogs there and you can see I have also changed its background to
 emphasis 2, it came up something like this.
And now the final things are left like to add the Impressum , logo, favicon and the website name.
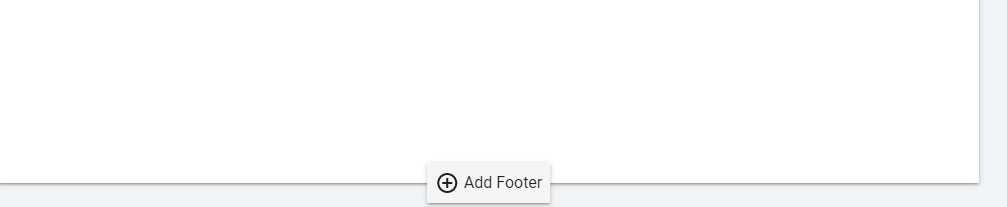
If you want a custom domain you can select it, or you'll get a free domain from Google Sites like: https://sites.google.com/view/{name}/ So if you are comfortable with the free domain you can continue with it as I have done, Now if you want add Impressum so you just go the down and when reach the end there you'll see a option to add footer so you use that and the impressum.
And just the last thing is to add the logo and favicon, you just need to go to settings on the top and add it.
And its all done, you are ready with your website.
Here is my website you can check it out here . I'll keep it updating over time so do check out!
That is it for today guys! I hope you liked the article and got to know something new.
Stay tuned for some more interesting blogs coming up soon.
If you like my content and want to support my efforts please like👍🏻, share📲 & subscribe to the newsletter to be get notified whenever I post a new blog.


